MacOS Vm on Proxmox server
I agree it sucks that (too much) people use closed source secure-advertised-only (trust me bro) OSs, but in the end, we build software for users, so we have to make it work on the platform they use, and it means also testing properly on the platform they use.
Proxmox
Proxmox is a Virtual Machine manager implementation, a minimal Debian OS with an admin interface to spawn VMs. This post will show you a step-by-step flow to build a MacOS VM for Proxmox.
What you need
- A KVM-OpenCore *.iso image, you can get the latest here
- A MacOS *.iso image
- An already running proxmox server, I'll assume here that you are familliar managing a Proxmox server.
You should first upload OpenCore and you MacOS image to your Proxmox Server.
Install KVM-OpenCore
KVM OpenCore is a virtualized implementation of the OpenCore bootloader, typically used to run macOS on Linux-based systems via KVM (Kernel-based Virtual Machine). This setup enables users to create a macOS virtual machine with near-native performance, leveraging OpenCore to manage the macOS boot process in a virtual environment.
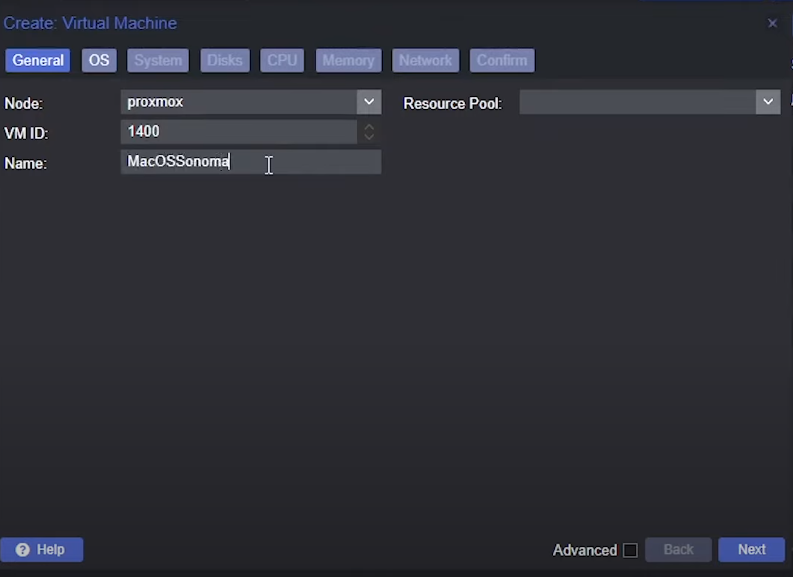
General Tab
-
Choose a name for the VM.
-
The VM ID is not very important here, it should just be unique.
OS Tab
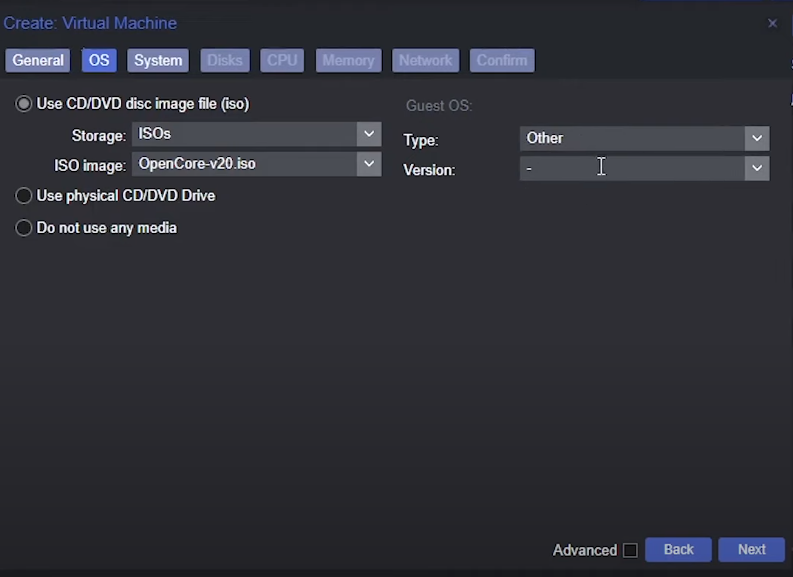
- Select the Opencore image you have previously installed
- Set Guest OS type to
Other
System Tab
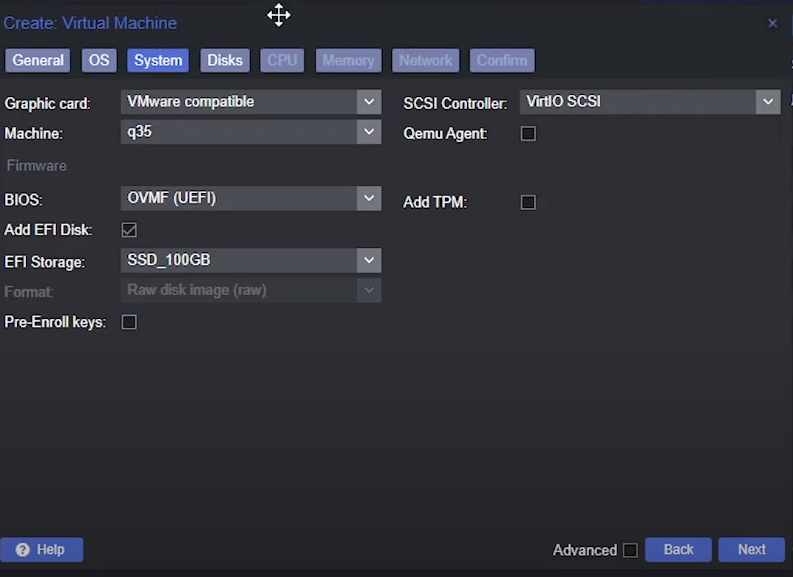
- Graphic card:
VMware compatible - Machine:
q35 - BIOS:
OVMF (UEFI) - Check
Add EFI disk - Select a storage
- Uncheck
Pre-Enroll keys - SCSI:
VirtIO SCSI
Disks Tab
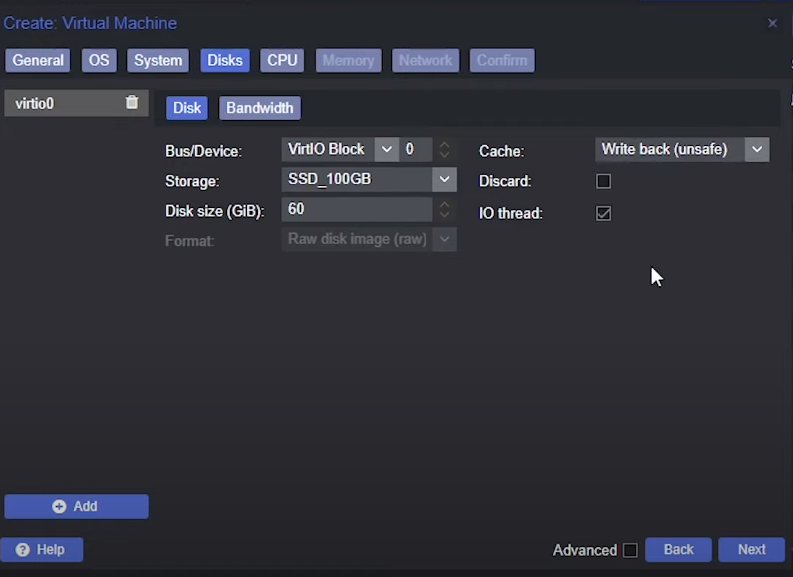
- Bus/Device:
VirtIO Block - Disk Size: at least
60GiB - Cache:
Write back (unsafe)
CPU Tab
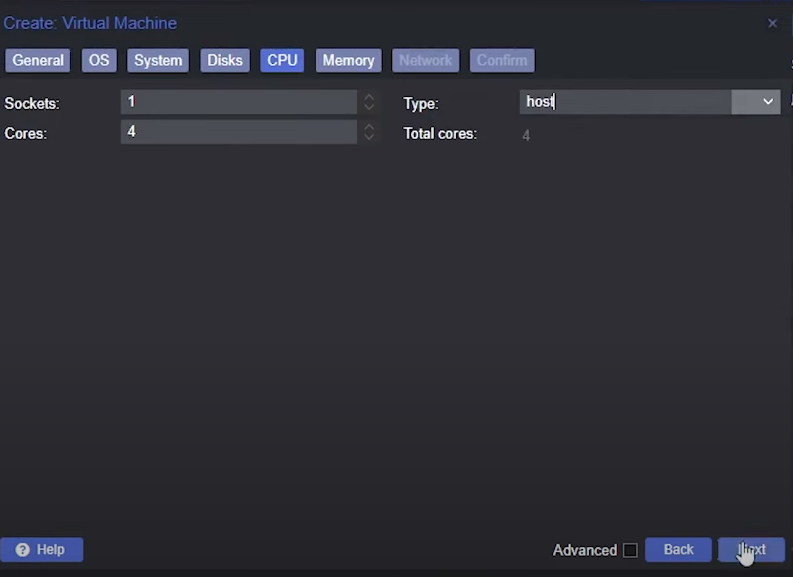
- Cores: at least
4 - Type:
host
Memory Tab
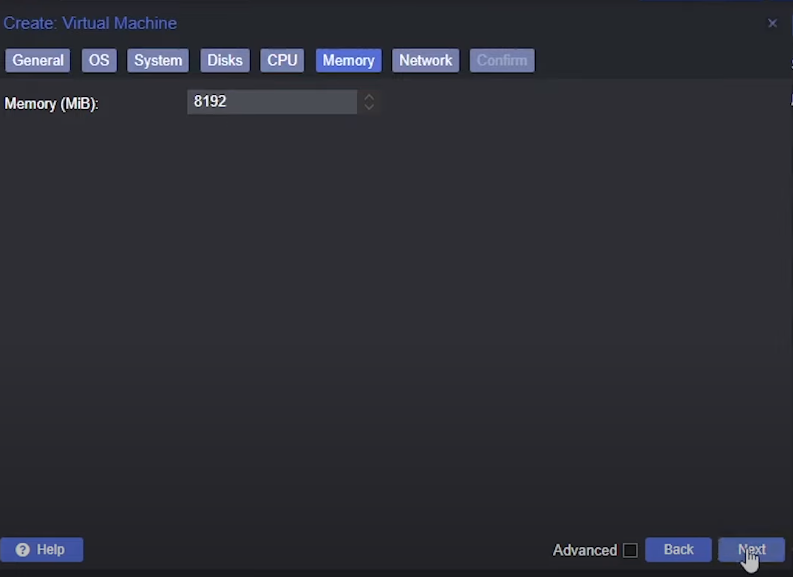
Memory: at least 8192 GiB
Network tab

Model: VMware vmxnet3
Then create the VM
Setup MacOS *.iso in drive
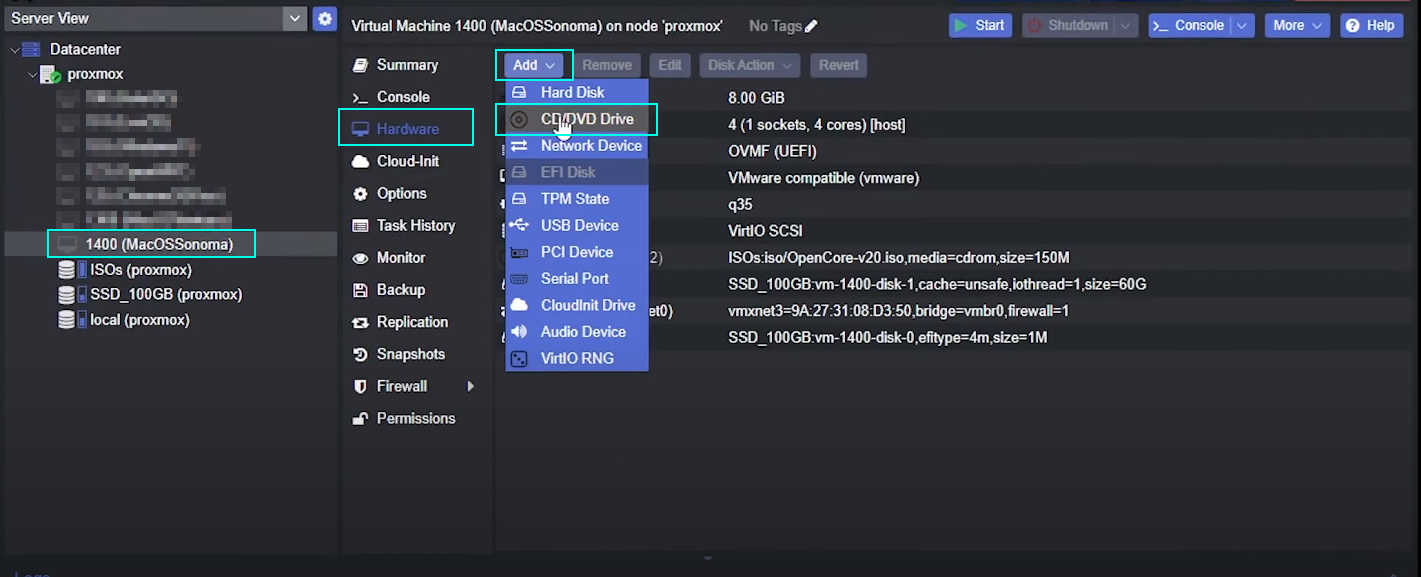
Select the created Vm => Hardware => Add => CD/DVD Drive
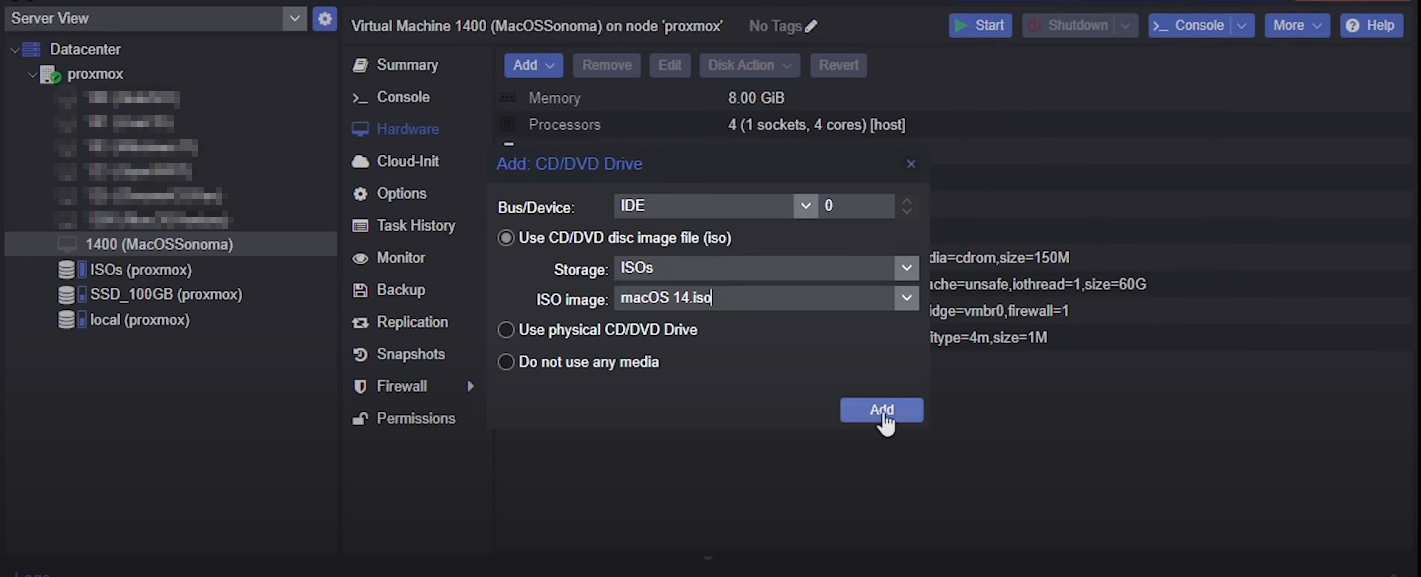
- Storage:
ISOs - ISO image: your macos *.iso image uploaded previously
Configure VM via host terminal
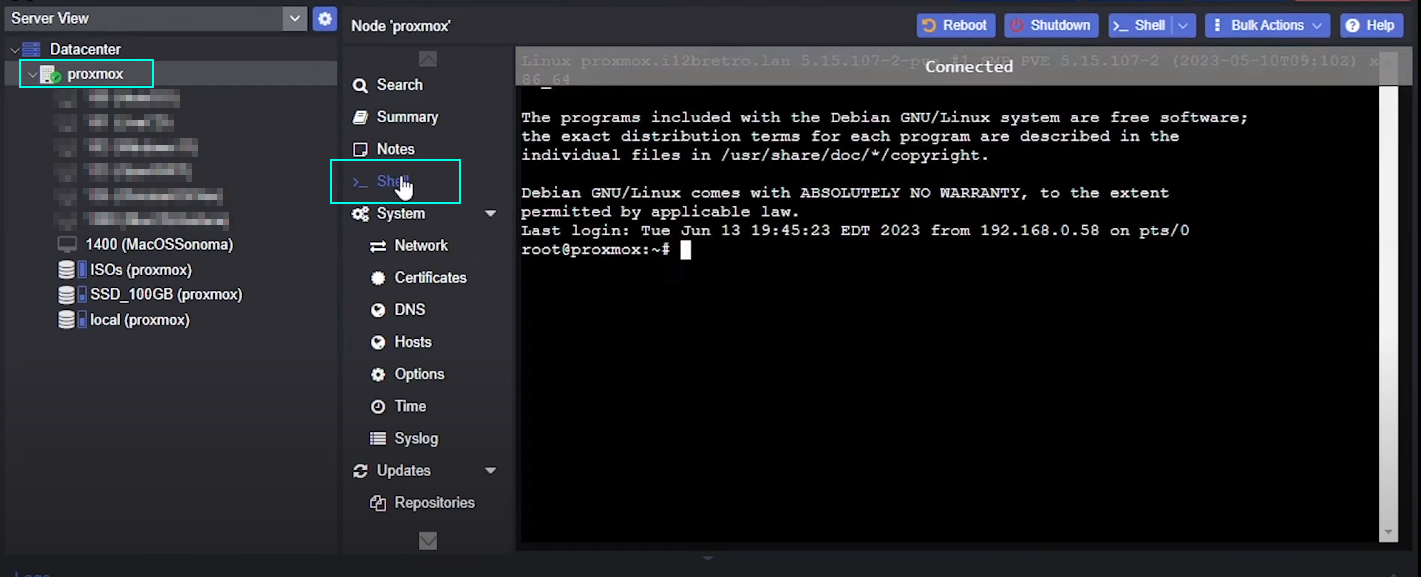
Click on your server name => Shell
then open the config file:
nano /etc/pve/qemu-server/1400.conf
here you should replace 1400 by your VM Id.
then add this line on top of *.conf file:
args: -device isa-applesmc,osk="ourhardworkbythesewordsguardedpleasedontsteal(c)AppleComputerInc" -smbios type=2 -device qemu-xhci -device usb-kbd -device usb-tablet -global nec-usb-xhci.msi=off -global ICH9-LPC.acpi-pci-hotplug-with-bridge-support=off -cpu host,vendor=GenuineIntel,+invtsc,+hypervisor,kvm=on,vmware-cpuid-freq=on

on lines starting with ide_ replace media=cdrom by cache=unsafe
Install MacOS on the VM
Now start the VM.
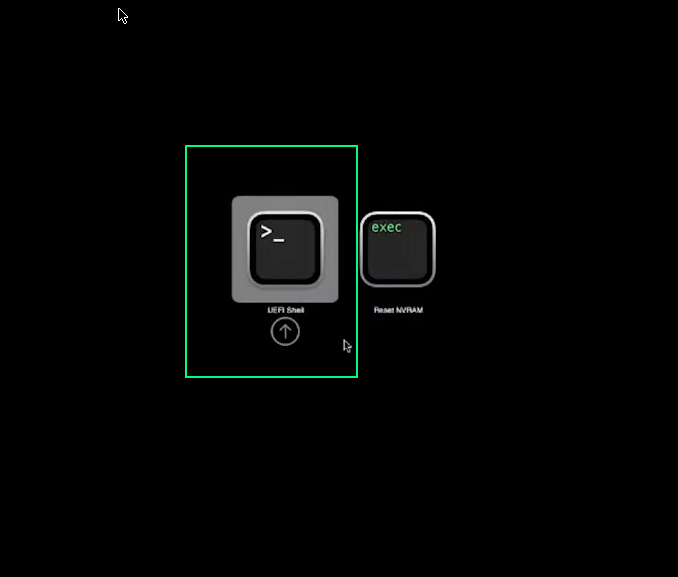
Select UEFI Shell using arrows and enter.
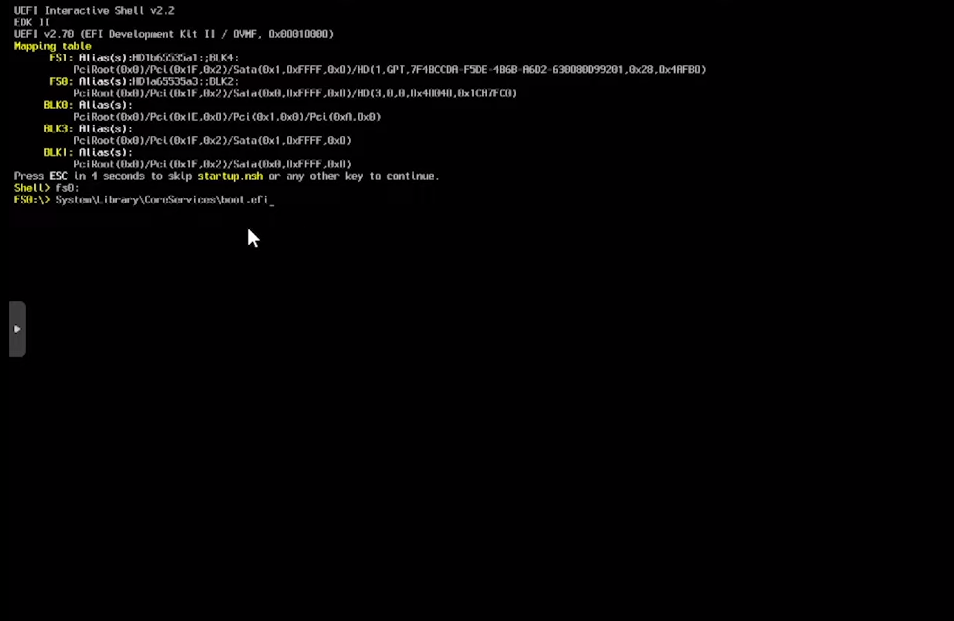
Enter this cmmands to launch boot.efi
fs0:
System\Library\CoreServices\boot.efi
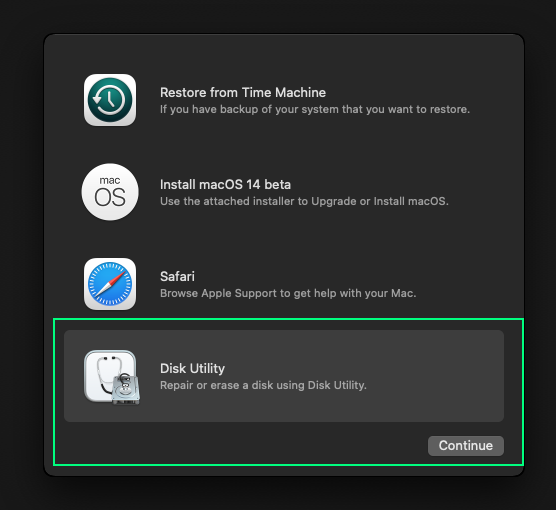
click Disk utility and continue
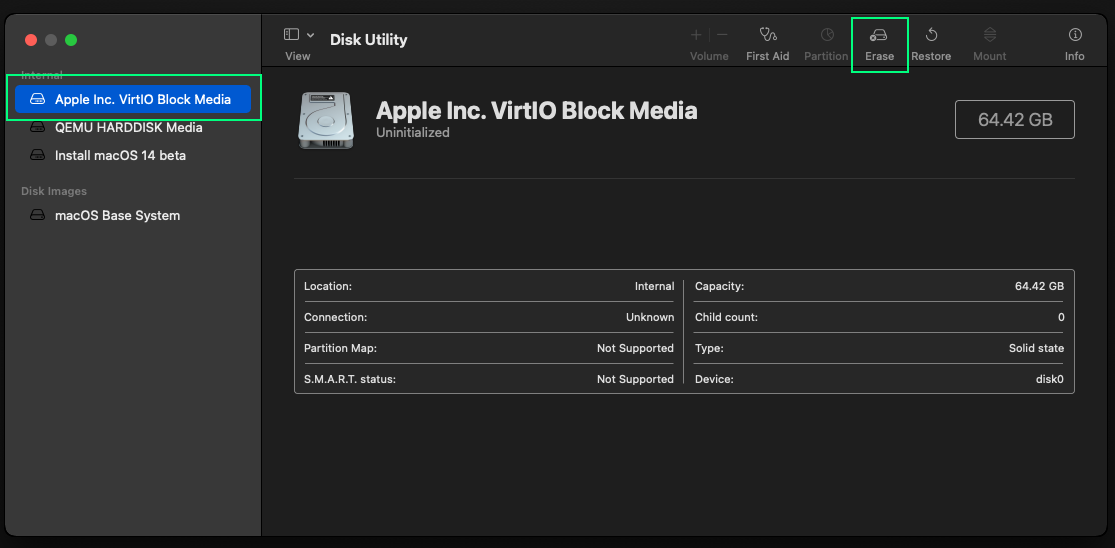
select the VirtIO media block then Erase
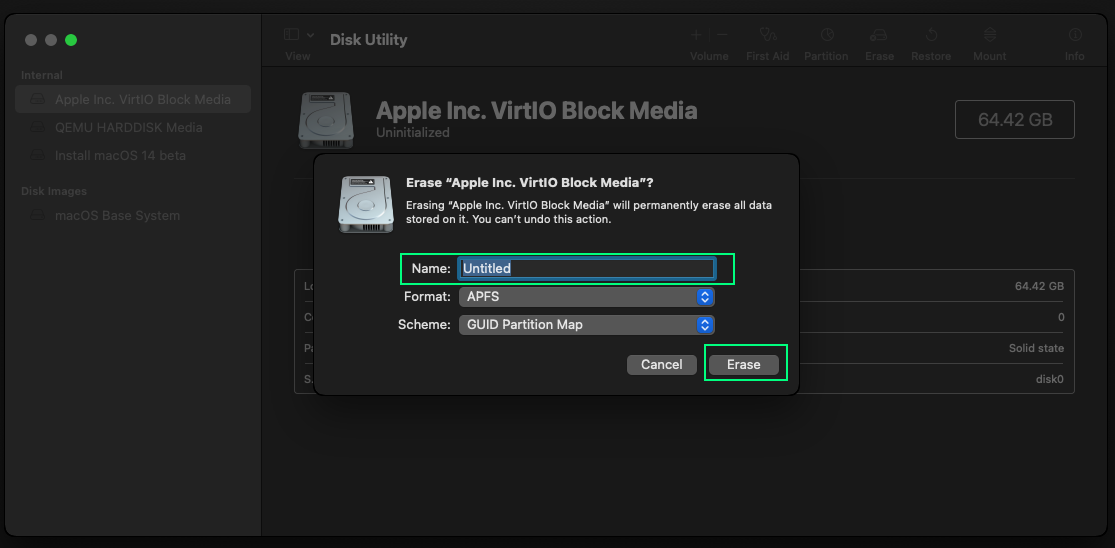
Choose a new name for the media and click Erase
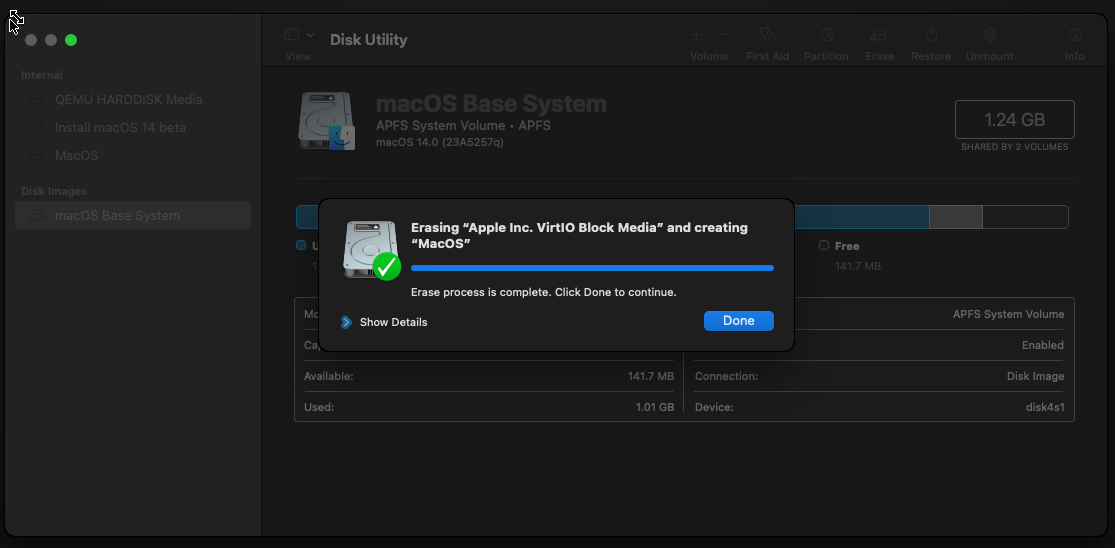
Click Done and close utility.
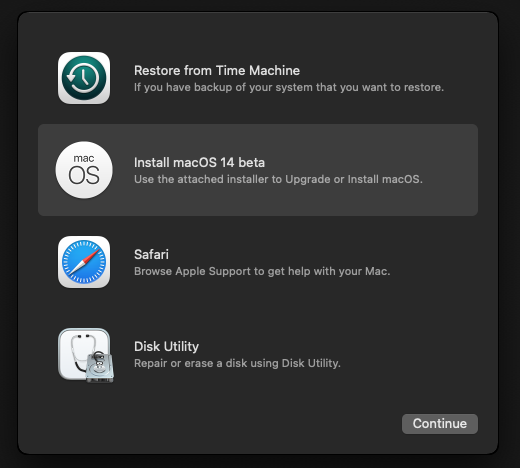
Now click Installl MacOS ... & Continue Then follow the install process.
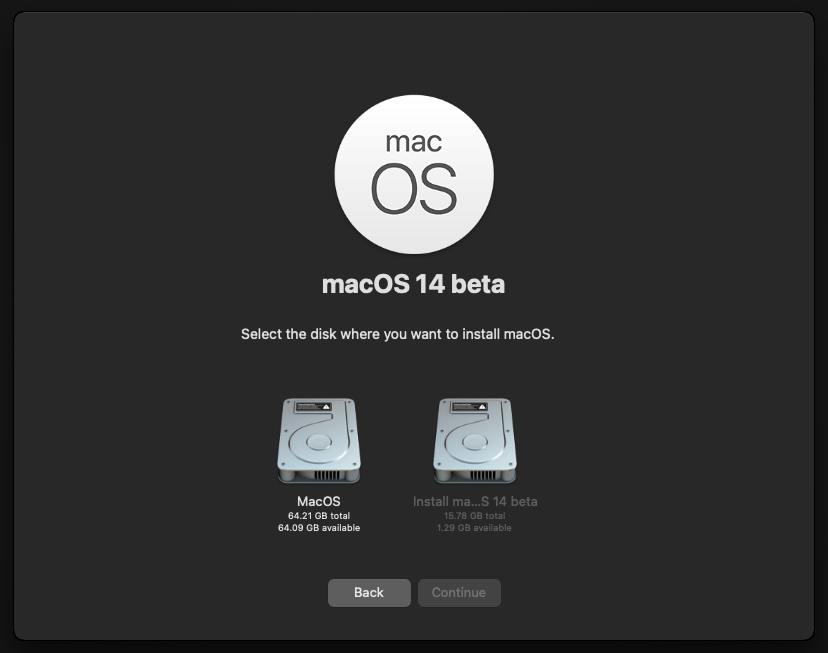
Select the disk you have previously erased (MacOS here) and continue the insatll process.
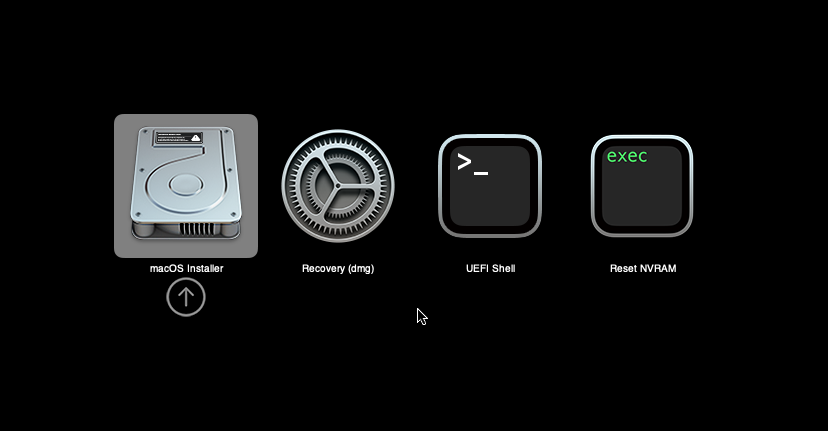
Several time during install process you'll have to select macOS Installer w/ arrow & enter
Follow the notmal macOS install process
Let macOS boot w/o OpenCore
Open a terminal and:
git clone https://github.com/corpnewt/MountEFI
cd MountEFI
chmod +x MountEFI.command
./MountEFI.command
if you are prompted to install git, do so and retry clone the repo.
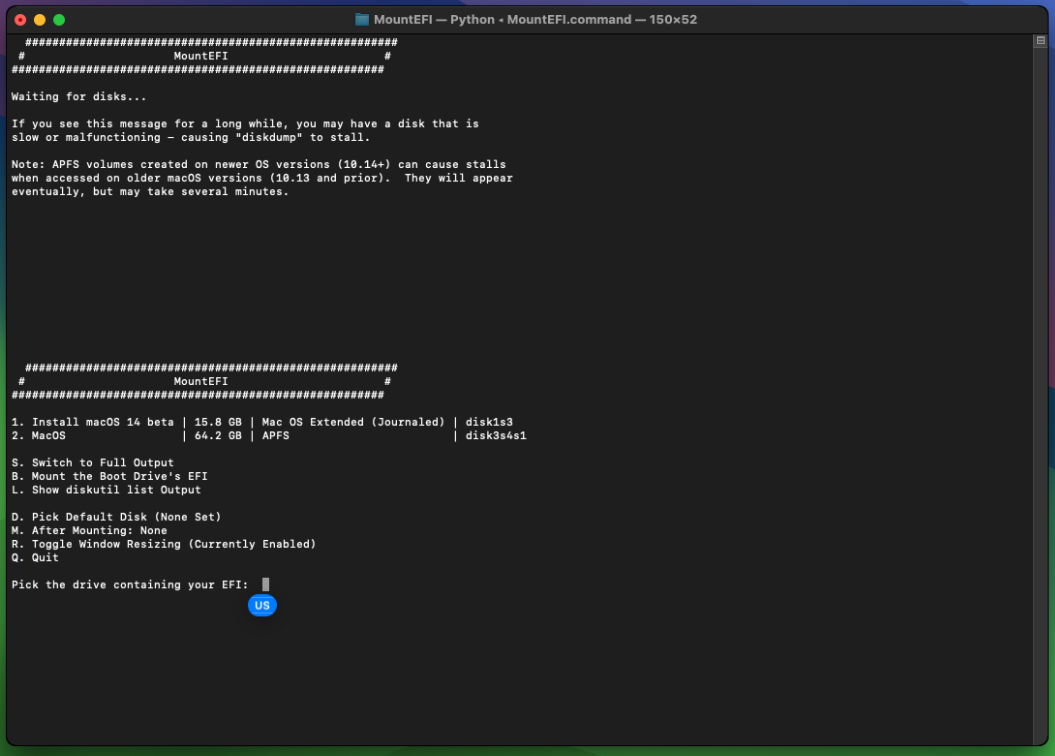
you should now land there, enter B to mount the EFI, you'll be asked to enter your password.
then you should land here:

Download OpenCoreEFIFolder-vxx.zip from the github repo
Unzip it and copy EFI folder to the root of the EFI partition
You can now stop the VM
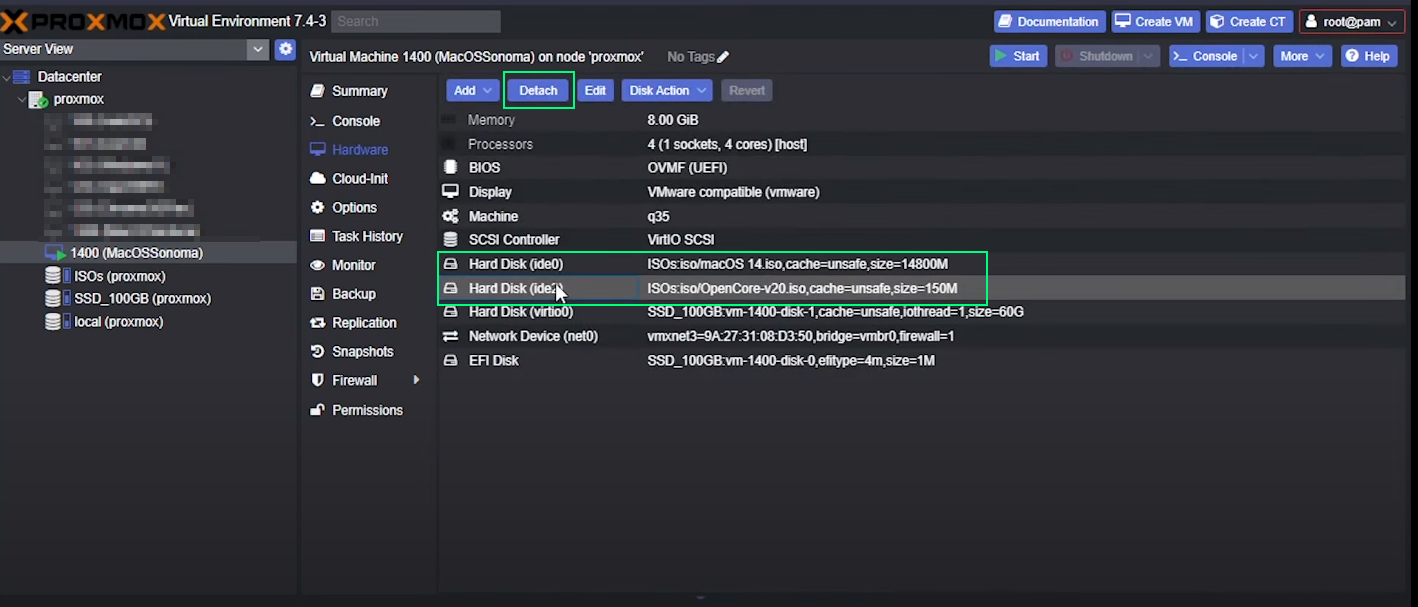
Back to Proxmox admin panel, you should detach both *.iso images from the VM
Yout VM install is now finalized!
Some screenshots and the general flow comes from this video